


Table of Contents
Do you need support?
Our team will be happy to assist you.
How to Add NEON® ONE in Cloud Connect®?
Overview
This article explains how to add a NEON® ONE in Cloud Connect®.
Use this workflow if your NEON® ONE is not yet visible in the Gateway overview list.
Prerequisites
- Access to cloud-connect.cloud
- Valid Cloud Connect® user account
- NEON® ONE serial number (16 hexadecimal characters, printed on the NEON® ONE / gateway box)
Step-by-Step: Add NEON® ONE in Cloud Connect®
Step 1: Open the Gateways page
- Log in to Cloud Connect®.
- Open the GATEWAYS tab in the top menu.
- Check whether your NEON® ONE is already listed.
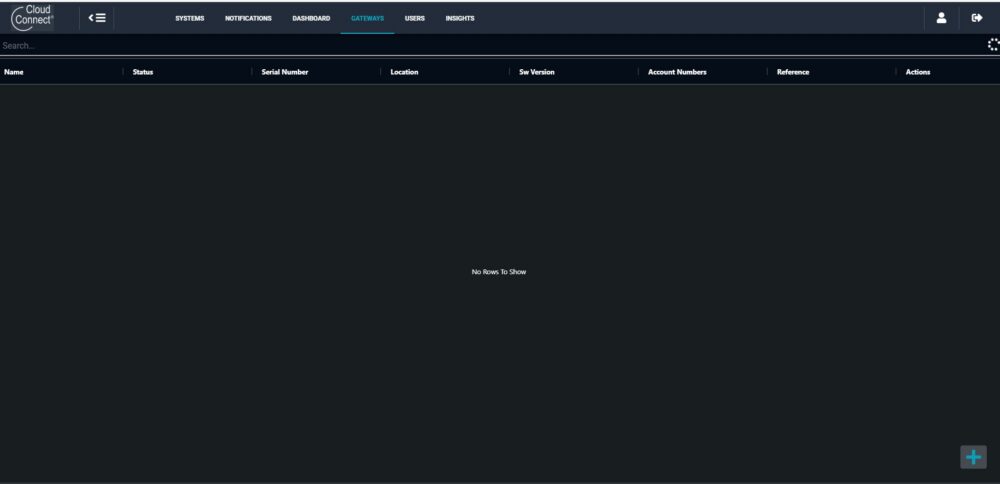
Image: Gateway overview list with + button in the bottom-right corner
Step 2: Add NEON® ONE with plus (+)
- If your NEON® ONE is not visible, click the plus (+) button at the bottom-right.
- The NEON® ONE creation form opens.
Step 3: Enter serial number
- Enter the NEON® ONE Serial Number.
- Use exactly 16 hexadecimal characters (0-9, a-f), as shown on the NEON® ONE / gateway box.
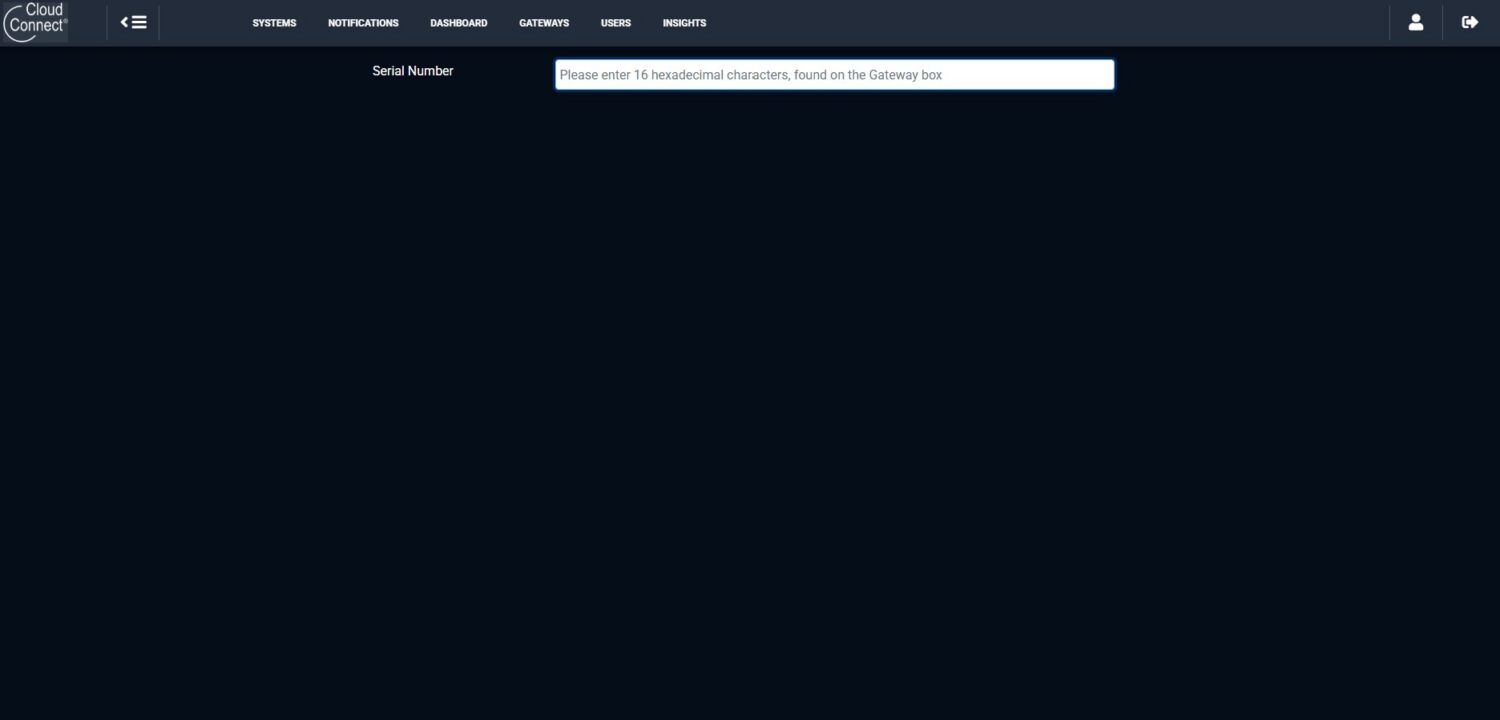
Serial Number input with hint “Please enter 16 hexadecimal characters, as shown on the NEON® ONE.
Step 4: Complete NEON® ONE details
Fill in the required fields, then optionally complete additional information:
- Description (for example: site or system name)
- City
- Account number
- Reference
- Contact
- Assign to company
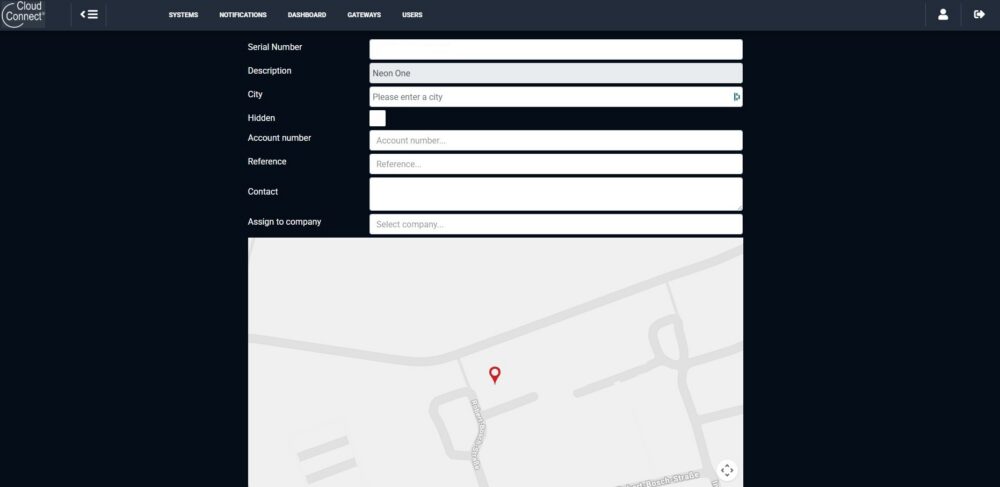
Gateway details form with Serial Number, Description, City, and Assign to company
Step 5: Save and verify
- Save the new NEON® ONE entry.
- Return to the GATEWAYS overview.
- Confirm the NEON® ONE appears in the list.